BOSI Technology Display
Introduction to BOSI's proofing process:
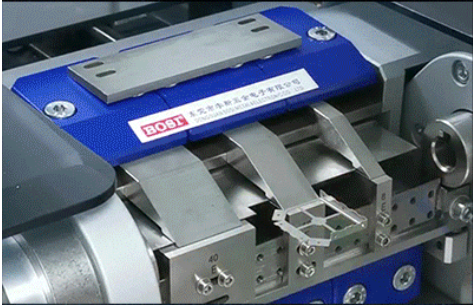
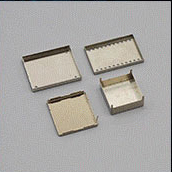
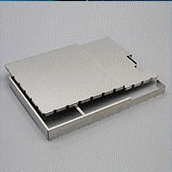
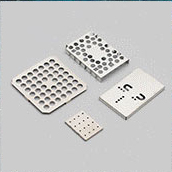
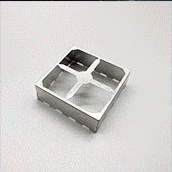
BOSI is another milestone in the precision hardware non-standard parts customization industry. Our company imported the most advanced micro controllable precision bending machine from Germany which controls more than 100 programs and stepwise tools group by computer, it can one-step formation for any complex bending structure on the absolute accuracy and repeat precision . What's more,it can produce the QTY of samples from 1 pcs to 5000pcs without any fault , also the lead time can be reduced from a few weeks or days to be a few hours or minutes. Also it can save raw materials effectively and make prototypes more efficient & fast. Micro bending machine can handle material thickness between 0.04 to 1.0 mm, the largest bending width is 150 millimeter, minimum bending width is 2.0 mm, the accuracy can reach 0.01 mm and Angle is 0.1 °. It can not only greatly meet the timeliness of prototypes for precision stamping parts such as wire terminal, shielding cover, metal contacts and metal bracket, but also ensure the accuracy and appearance of products.
Quick proofing range:
-
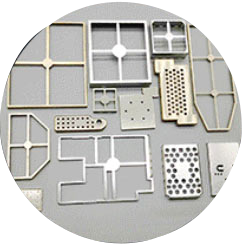
Intelligent Shield Case
Three-day proofing saves mold opening12 hours expedited sampleTolerance up to 0.01mm
-
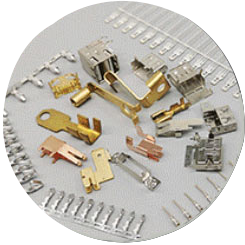
Intelligent Connector
Imported Germany CNC MINI Bending MachineWorry-free customization of difficult non-standard partsMachinable thickness is 0.08-0.50mm
-
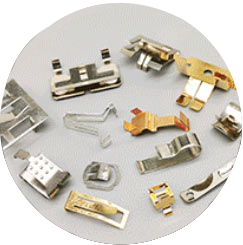
Precision Metal Shrapnel
Life can reach more than 100,000 timesThe number of mating cycles is more than 20,000Anti-oxidation/anti-fatigue/good rigidity/high precision
-
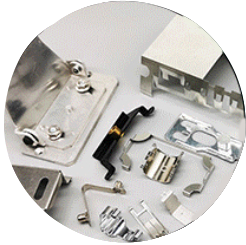
Precision Metal Bracket
Three-day proofing saves mold opening12 hours expedited sampleTolerance up to 0.01mm
BOSI Proofing Technology VS Traditional Proofing Technology:
|
Product Type
|
Case Comparison
|
Sample Speed (day)
|
Sample Cost
|
Repetitive Accuracy (mm)
|
|
Traditional Technology
|
BOSI Technology
|
Traditional Technology
|
BOSI Technology
|
Traditional Technology
|
BOSI Technology
|
|
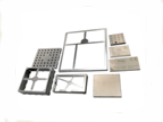
Shield Case
|
|
15
|
1
|
Fixture
|
No need to open mold
|
0.5
|
0.02
|
|
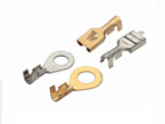
Connector
|
|
30
|
3
|
Need to open the mold
|
No need to open mold
|
0.3
|
0.02
|
|
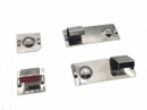
Metal Shrapnel
|
|
10
|
1
|
Fixture
|
No need to open mold
|
0.5
|
0.1
|
|
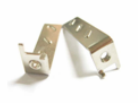
Metal Bracket
|
|
30
|
3
|
Need to open the mold
|
No need to open mold
|
0.3
|
0.02
|
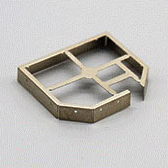
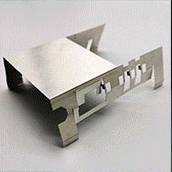
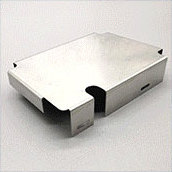
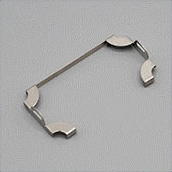
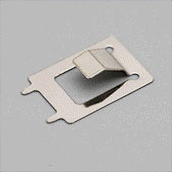
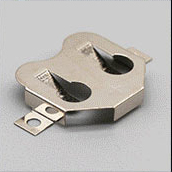
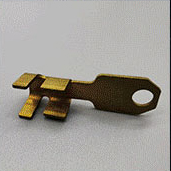
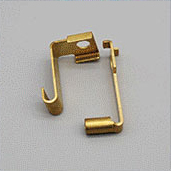
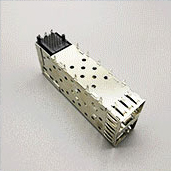
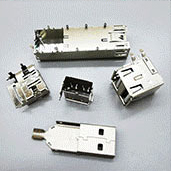
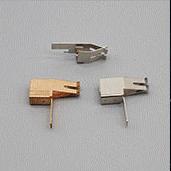
BOSI Proofing Case:
-
-
-
-
-
-
-
-
-
-
-
-
-
-
-
BOSI Proofing Case:
-
Produced by BOSI
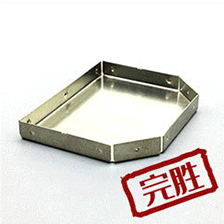
Angle vertical accuracy after moldingFlatness can reach 0.02mm
-
Flatness PK
The forming angle of the product directly affects the plane accuracy of the product. Insufficient flatness results in the inability to match the pads and cause virtual soldering, which affects normal use.
-
Common similar products on the market
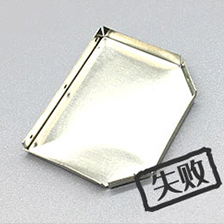
The forming angle is not vertical and the deformation is serious.Flatness is not guaranteed
-
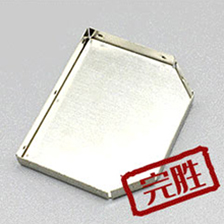
Convex hull (buckle position) is accurate.Tight combination of frame and cover/no gap
-
Appearance PK
The forming angle of the product directly affects the plane accuracy of the product. Insufficient flatness results in the inability to match the pads and cause virtual soldering, which affects normal use.
-
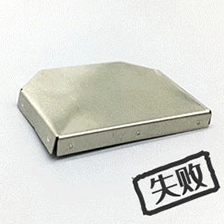
Poor workmanshipoil stains/creases on the surface, etc.
-
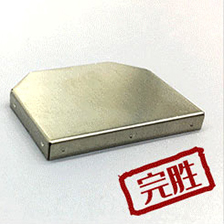
Convex hull (buckle position) is accurate.Tight combination of frame and cover/no gap
-
Detail PK
The forming angle of the product directly affects the plane accuracy of the product. Insufficient flatness results in the inability to match the pads and cause virtual soldering, which affects normal use.
-
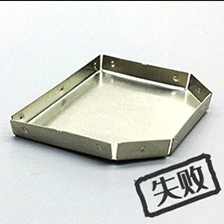
No convex hull (buckle position)
The frame cover combination is not firm/easy to fall off.
BOSI Production Equipment Display:
-
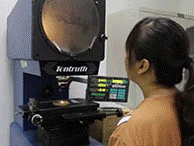 Projector
-
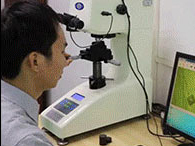 Vickers Hardness Tester
-
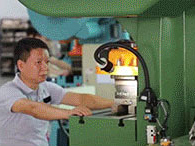 Taiwan Liye
-
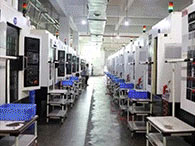 CNC Equipment
-
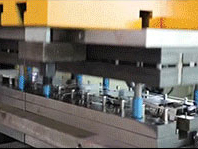 Japan BOBBY
-
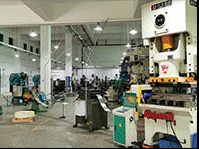 High Pressure Punch
-
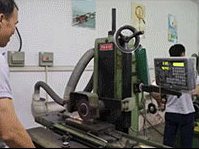 Precision Grinder
-
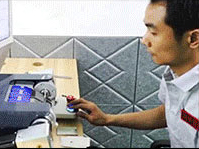 Germany CNC MINI Bending Machine
High-speed stamping equipment: Japan DOBBY&Taiwan Liye
Stable: Equipped with a dynamic balance device to ensure that the punch can maintain a continuous and stable dynamic accuracy even at high speeds;
Precision: High-precision transmission parts are used to minimize vibration, and the accuracy of stamping parts can reach 0.01mm
Fast: Using imported bearings, strong punching force, high production efficiency, up to 1000 times per minute.
Material testing equipment: Vickers hardness tester
The hardness of the raw material is an important index that needs to be referred to in the design and production of the product, which directly affects the quality of the finished stamping parts. The measurement error of the Vickers hardness tester can be controlled at plus or minus 3 degrees. The precise test error ensures the accuracy of product molding, thereby ensuring the stability, assembly and functionality of the elastic life of the finished product. It is an ideal hardness testing instrument for research and testing by scientific research units, universities, medium and large production companies and testing institutions.
In order to ensure the excellent quality of the products, BOSI imported advanced testing equipment and instruments, strictly screens raw materials, controls from the source, and checks every step of the way, so that customers trust bosi.
BOSI Proofing Case:
-
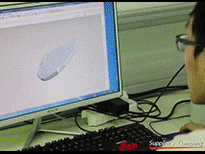 Drawing design
-
 Shipments
-
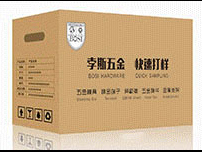 Package
-
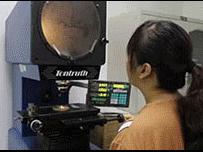 Inspection
-
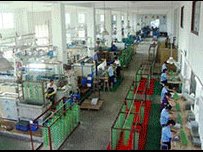 Surface treatment
-
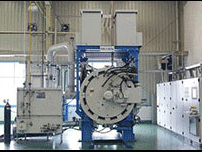 Heat treatment
-
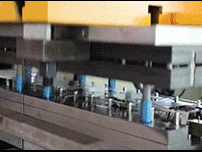 Stamping
-
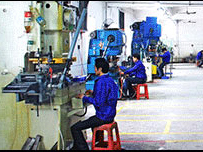 Test
Test
-
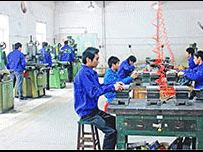 Assembly
-
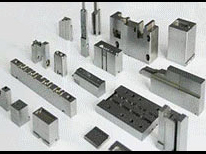 Mould part
-
 Grinding
-
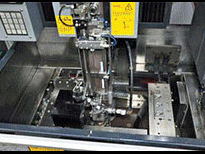 Line cutting
Material selection
Optional materials: titanium alloy, pure nickel, copper, beryllium copper, phosphor copper, brass, nickel silver, stainless steel, stainless iron, aluminum, galvanized sheet, electrolytic sheet, cold rolled steel sheet, spring steel, etc., Each the material contains different models, and the specifications and hardness of the materials of different models are different, and the elasticity of the product will be different after molding;
Machinable size: 0.05mm-6.0mm, according to different thicknesses and different materials, the thickness tolerance range is different;
Maximum processing size: 800mm*1000mm, the maximum processing size will vary due to material thickness and product structure;
Processing accuracy: the minimum accuracy is 0.005mm, the accuracy of the product size is determined by the accuracy of the mold, and the accuracy of the product determines the cost of the mold;
Minimum aperture: 0.3mm, the thickness and hardness of the material will affect the range of the minimum processing aperture.
Drawing design
Product and mold design can be based on customer samples and drawings.
Wire cutting
Fast wire, middle wire, slow wire. Sample and small amount of wire cutting are used to save mold cost and fast time.
Mold making
Design, material preparation, wire cutting, CNC, heat treatment, assembly, mold trial, mold design, processing and assembly are completed in our factory to ensure quality and timeliness.
Stamping
400,000 pcs/unit/day, due to different product structures, the daily output of each product will be different.
Heat treatment
Vacuum tempering and aging treatment.
After stamping, the product undergoes heat treatment to increase elasticity and make the product better in fatigue resistance.
Surface treatment
Environmental protection (ROHS, halogen-free) gold-plated, silver, tin, nickel, zinc-plated, copper-plated, oxidation, laser engraving, silk screen, phosphating treatment (also can reach more than 160 hours smoke test as needed), blackening, oil spraying, Paint, electrophoresis, passivation, deburring, polishing, wire drawing. Different surface treatments of different materials make the product contact, corrosion resistance better and beautiful.
Package
SMT tape automatic packaging, customized special blister trays, environmentally friendly PE bags, customized special plastic boxes. We will customize safe and applicable packaging methods according to the transportation and use of each product of the customer.


 Projector
 Vickers Hardness Tester
 Taiwan Liye
 CNC Equipment
 Japan BOBBY
 High Pressure Punch
 Precision Grinder
 Germany CNC MINI Bending Machine
 Drawing design
 Shipments
 Package
 Inspection
 Surface treatment
 Heat treatment
 Stamping
 Test
Test
 Assembly
 Mould part
 Grinding
 Line cutting